
Adding a Processor to the Route
Processors allow you to change the shape and content of data. While pipes ensure the movement and continuous flow, processing add functionality into the flow. In the previous section you learned how to create a process. In this section we will assign the process to a pipe.
Creating the Pipe

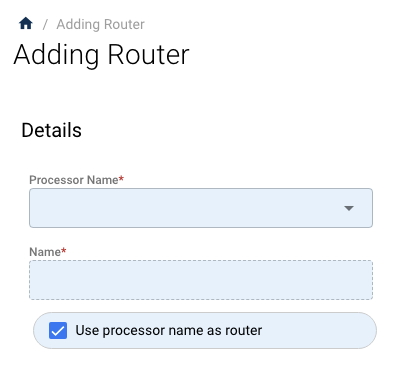
The properties window is on the far left. When clicking the "Add Router" button, that pannel will request a name and description for the new router.
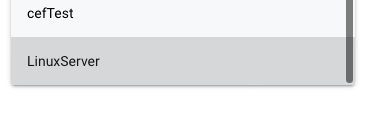
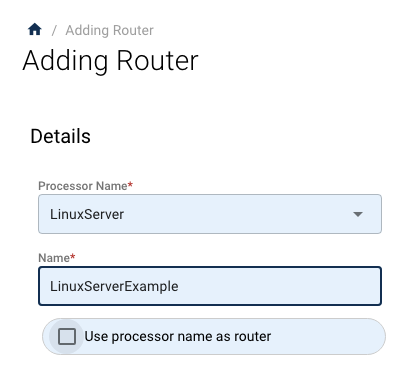
In this example, we are using the process we created in the previous section called LinuxSeerver
This will fill in the processor and name the overall processor name the same name. We can change the overall processor name by unchecking the "Use processor name as router." Doing that allows us to edit the "Name" field.
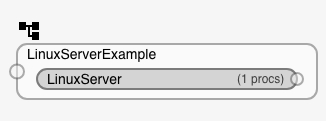
When we save this, the new router will appear to the right in the "Pipe Configuration" pannel.
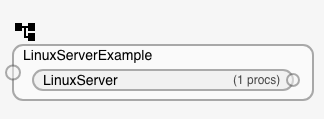
We can see the processor in the pipe by clicking the "LinuxServer" process in the router called "LinuxServerExample."
The processor is highlighted and this processors data can be seen in the properties pannel.
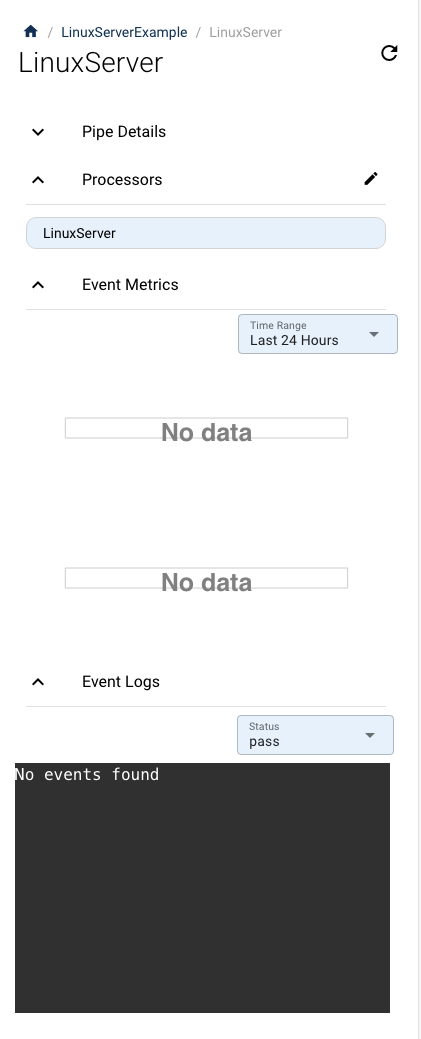
As we can see, the processor is there but there is no data or histograms.
Connecting Data
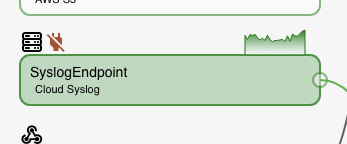
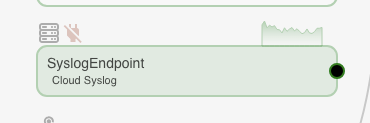
In this example I am going to use a Data source called "Syslog Endpoint." Syslog is a common data source. In this case I want to move an existing source that is turned on.
Deleting an active flow
So, first I need to turn off the source.

By clicking on the source in the Configuration Panel, you will see a green plug to the left of the source name in the properties panel. Click this and accept turning it off. The icon on the Panel will now have a red plug above it.
When a source is turned off, we can then hover of the out going flow line and select it. A delete (trashcan icon) appears.
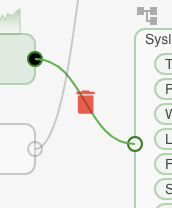
Clicking this and accepting will delete the connection.
Creating a new flow
Now we have a data source with no Router. This allows us to route the data somewhere else.
Start by selecting the source flow. This is done by clicking on the outgoing circle on the flow pipe.
Now, selecting the incoming flow of the process by selecting the circle to the left of the process we want to connect.
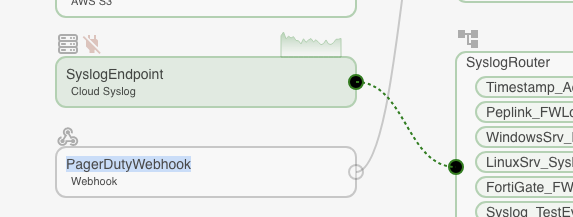
This will then create a connection.
But there is one more step we need to do to get the data flowing into the process. That is to turn on the data source. Remember we turned it off to create the connection.
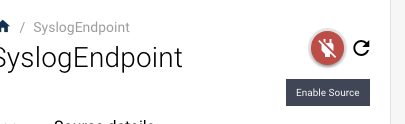
Selecting the source you will see a red plug icon. Click that and accept turning on the source. It will change colors to green when the source is active again.
Updated over 1 year ago