
Creating a Processor
To create a route
- Create a Process. (Needs to be done first on the Platform -> Process Page)
- Add a route.
- Assign the process to the route.
In order to create the route, you need to have a process already defined. If you want to create the pipe structure, you can define a passthrough process that will just forward a raw event. In this scenario you still want to create the passthrough process with the name of the eventual parser that you are going to implement.
Processes
They are unique. When you edit a process in the Configuration page, you are editing the base processor. If you use that process in more than one place, you are editing both locations.

Add Processor Button
Defining the name
The first step is to define the name and provide a description. The processor you creating is just like a program taht can be run from different command lines (pipes). It is for this reason that when you create a temporary stub (passthrough) that you give it the name of the eventual process that you want to create.
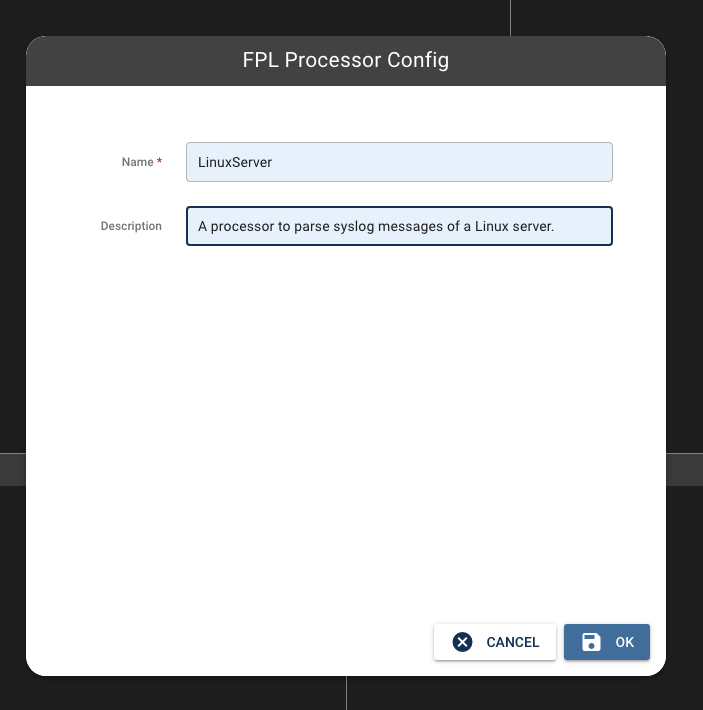
Naming the Processor
Click "OK" and the Processing workspace appears.
Processor Workspace
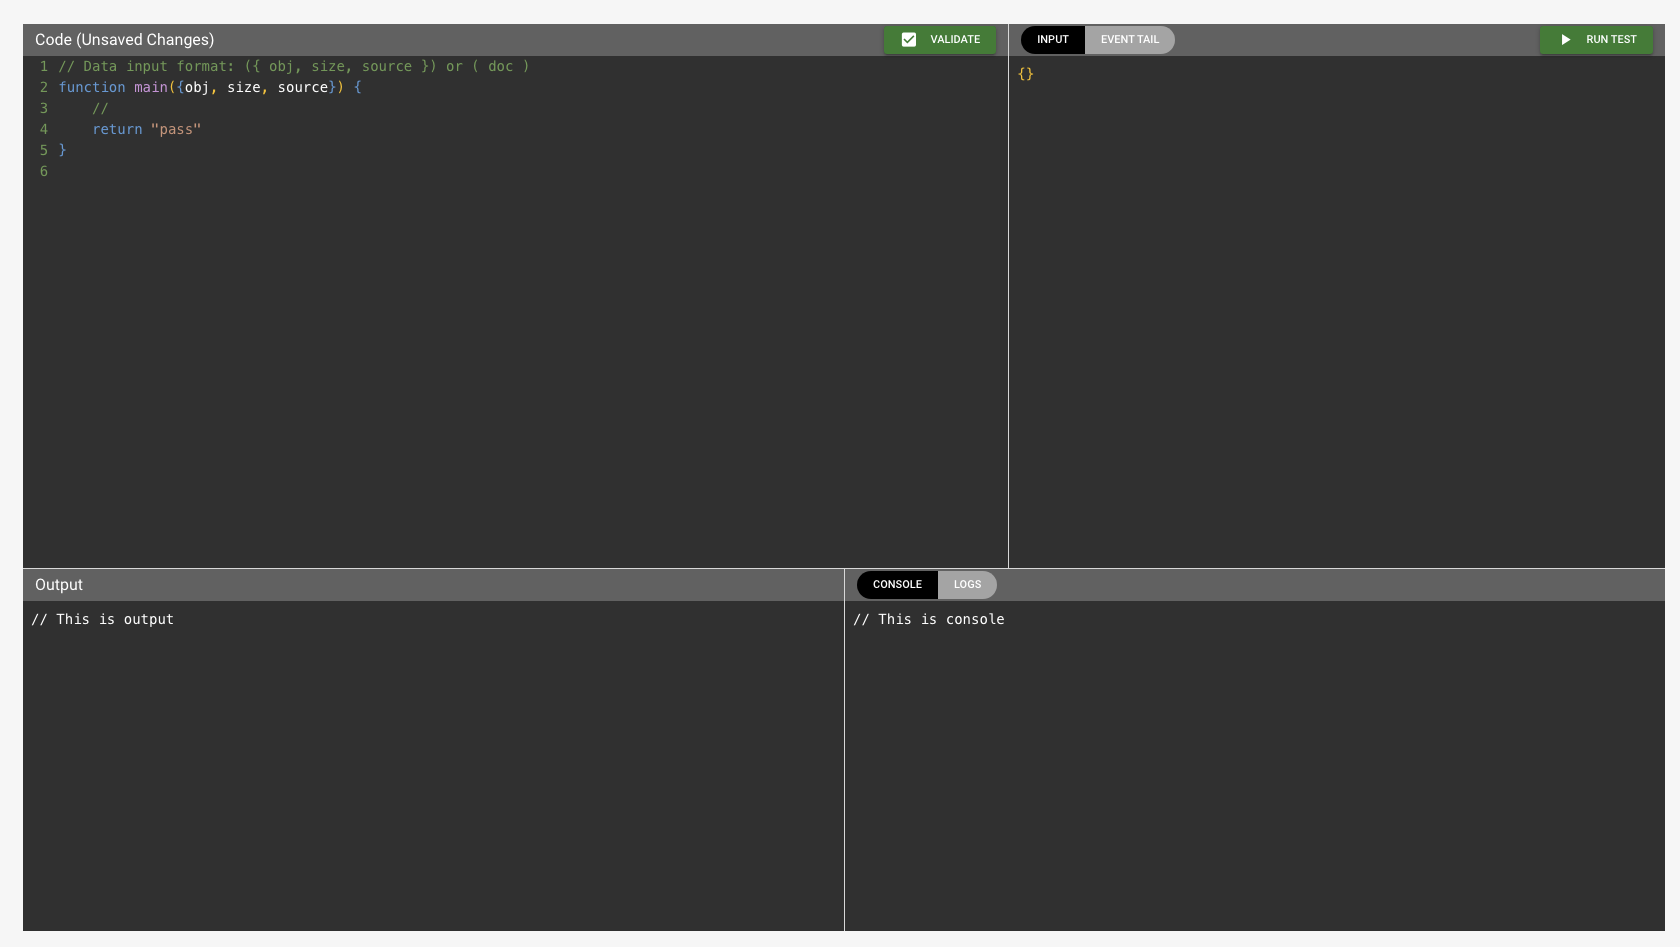
The workspace has four sections. Going clockwise from the top left, these are:
- Code Editor: This is the code that will run when a record is received.
- Record Buffer: Records sent from the data source are buffered to provide sampling to debug and build. The record buffer samples in the "Event Trail" of actual data. You can add you own data when it is set to sample.
- Run Output
- Standard Output
If you are use to coding, you will have some insight into the use of each section.
Processor Entry Point
The default passthrough might not be what you want.
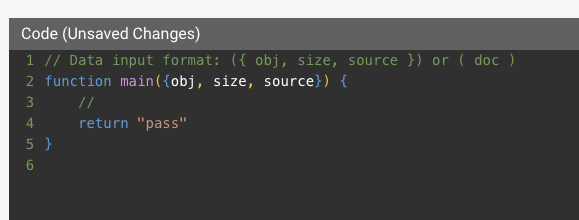
Default Passthrough
If you are not sure of the shape, how the record is formatted, of the data, try viewing the record with a printf statement once you get the datasource set up. To do this, change the above code by replacing with:
function main(envelope) {
    //
    printf("Raw Record: %s", envelope)
    return "pass"
}
Notice that the text editor can highlight with the JavaScript syntax. This will be useful when you code.
The code above is just capturing the incoming objected. The name 'envelope' is irrelevant. We are taking the incoming object and sending it to standard output using the printf command.
Using the Record Buffer
The record buffer is extremely useful. Sometimes you do not know the shape of an incoming record. For example, this is a Linux object sent from a Syslog server:
{
  "obj": {
    "@collector": "local",
    "@event_type": "sshd",
    "@facility": "authpriv",
    "@level": "info",
    "@message": "Disconnected from invalid user gang 23.99.201.14 port 57468 [preauth]",
    "@parser": "fpl-LinuxServerSyslog",
    "@parserVersion": "20231128-3",
    "@sender": "71.178.173.2",
    "@source": "remote",
    "@sshd": {
      "parserError": "skipped"
    },
    "@tags": [
      "sshd"
    ],
    "@timestamp": 1711202399000,
    "@type": "event"
  },
  "props": {},
  "size": 136,
  "source": ""
}
Notice the the JSON format is a String format and not raw.
We can copy this and drop it into the Record buffer. Make sure that the tab on record buffer section states "Input".
Then click "Run"
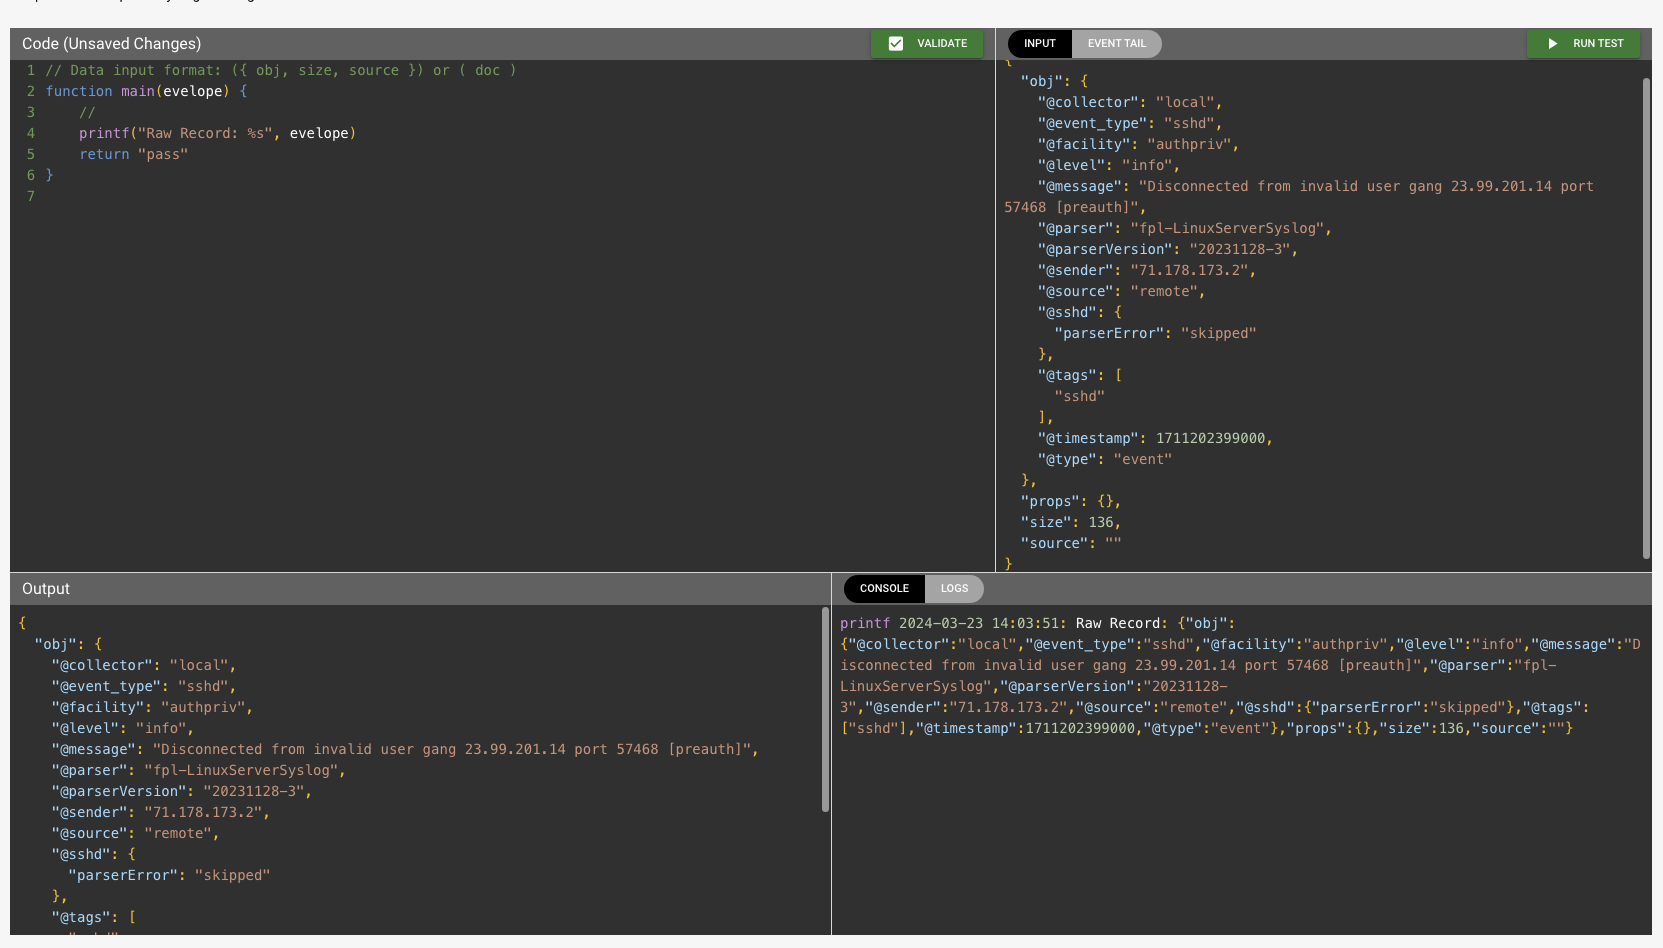
Run Output
After clicking "Run" the object in the output should match the input. This is the effect of a passthrough.
Also, the console (standard output) now contains our print statement to include the "Raw Record" label:
printf 2024-03-23 14:03:51: Raw Record: {"obj":{"@collector":"local","@event_type":"sshd","@facility":"authpriv","@level":"info","@message":"Disconnected from invalid user gang 23.99.201.14 port 57468 [preauth]","@parser":"fpl-LinuxServerSyslog","@parserVersion":"20231128-3","@sender":"71.178.173.2","@source":"remote","@sshd":{"parserError":"skipped"},"@tags":["sshd"],"@timestamp":1711202399000,"@type":"event"},"props":{},"size":136,"source":""}Seeing the Created Processor
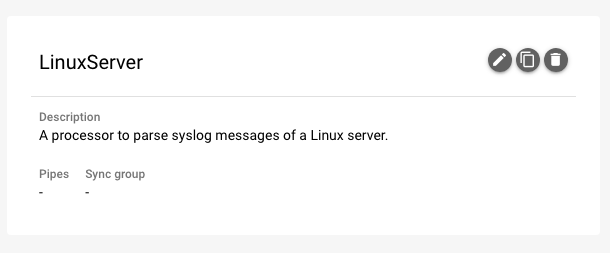
Once you save the processor you are brought back to the page that lists them.
Notice that because we have not assigned the processor, there are no values listed for the assigned Pipes or group. After the next section, where we create a pipe with this processor, that will change.
Advanced
At this point we are ready to finish creating a Pipe. But the power of Platform is in the ability to write complex processors.
There are examples of processes written in the Cookbook section of this manual.
Updated over 1 year ago