Setting Up a Webhook Data Sink
Now we have a quick easy way to test data coming into the system. Let's now create a way to hear that data. For this we need to stand up a service that can listen. One way to do that is to create a Webhook server.
Listener Application
We are going to first create a working directory. In this directory, we initiate npm and then install two libraries: Express and body-parser
mkdir webhook-receiver
webhook-receiver/

npm init -y
npm install express body-parser
vi index.js
In the last line, we open up the visual interface (vi) and we are going to place our Javascript that will listen to port 3000 and output to terminal what is sent. The following is the code for index.js
const express = require('express');
const bodyParser = require('body-parser');

const app = express();

app.use(bodyParser.json());

app.post('/webhook', (req, res) => {
    console.log('Received Webhook:', req.body);
    res.status(200).send('OK');
});

const PORT = process.env.PORT || 3000;

app.listen(PORT, () => {
    console.log(`Webhook receiver listening on port ${PORT}`);
});
Once this is saved, we can run the file by evoking it with node
node index.jsThis will inform you it is ready for a message by stating Webhook receiver listening on port 3000
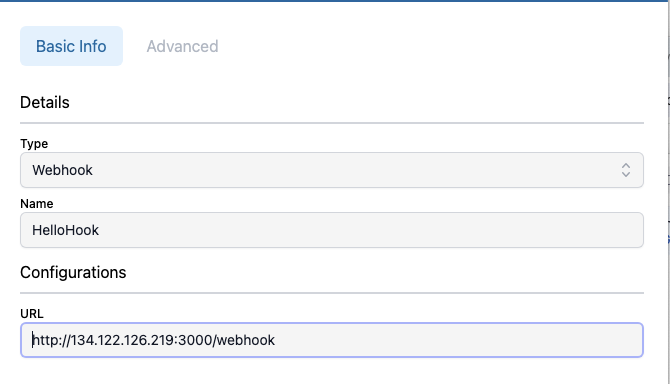
Write down the name of the system, whether DNS or IP address. In the above sample file, it can be reached with http://134.122.126.219:3000/webhook
Create the Data Sink in Ingext
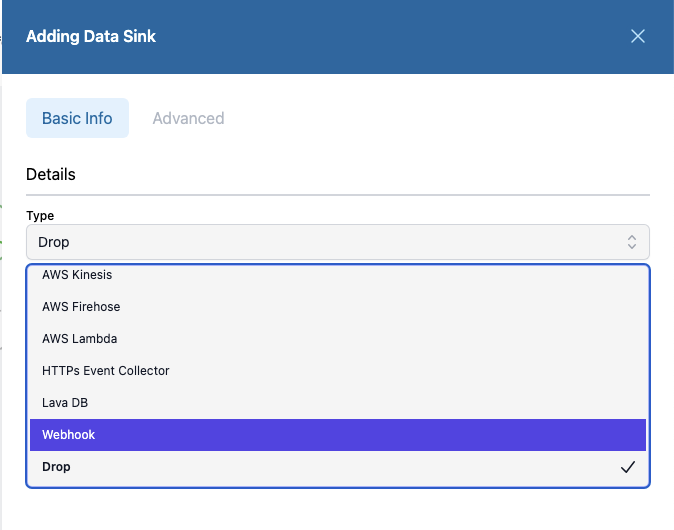
On the Ingext home interface, click the Add Sink button. Then click the Type of data sink and choose Webhook.

Here is where you enter the URL we created and give it a name.

Then save the configuration.
Connect
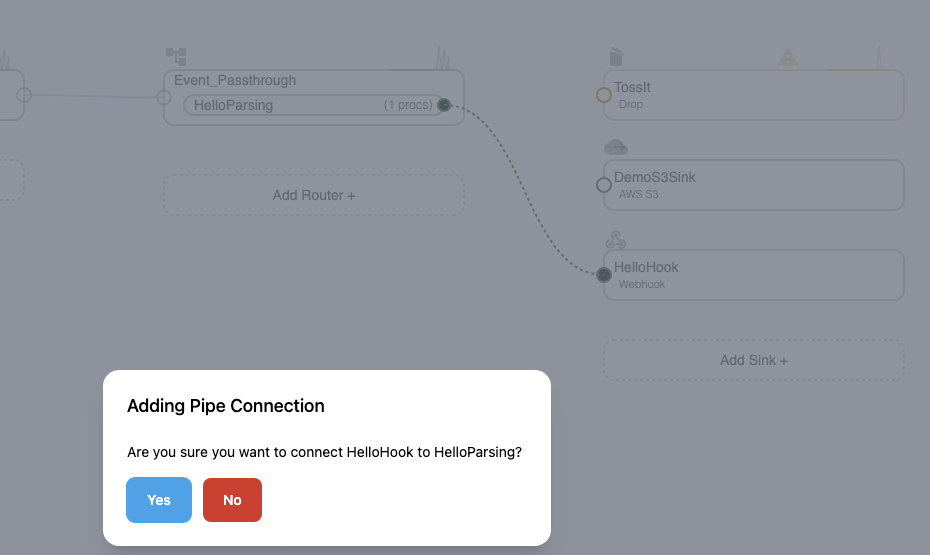
If you followed Hello Work quick start, you have an HEC that creates data and a router that can send data. So now we connect the router to the HelloHook data sink we just created. We do that by click on the right-circle in the parser, and the clicking on the left hand circle in the data sink. When you do, you will get a confirmation.

Send Data
Now that they are connected, we can send data using the HEC. Open the terminal and provide it some messages:
curl -H "Authorization: Ingext CBA6F573-1EEB-4098-8D2D-A2571EADB03B" https://fluencyjordantest.saas.fluencyplatform.com/services/collector -d '{"sourcetype": "curl prompt", "event": "Write to Hookdeck"}'

curl -H "Authorization: Ingext CBA6F573-1EEB-4098-8D2D-A2571EADB03B" https://fluencyjordantest.saas.fluencyplatform.com/services/collector -d '{"sourcetype": "curl prompt", "event": "Write to Hookdeck"}'
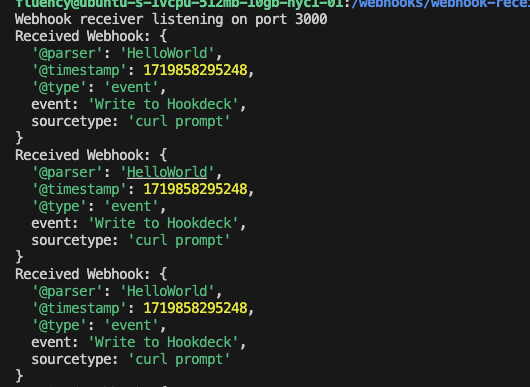
Now wait for the components to collect, parse, and send the data. You should see the results on the command prompt of the listener we started:

Next
Next we can continue to build up the webhook. The next step here is change our data source to a common AWS collector, AWS CloudWatch.
Updated about 1 year ago
