
AMI Community Install (Marketplace)
Getting starting with the Free IngeXt Community AMI image from the AWS Marketplace
New EC2 Instance from AWS Marketplace AMI
Login into AWS Management Console.
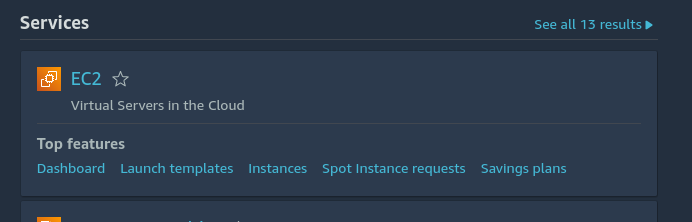
Search / Select the EC2 option, under Services to navigate to the EC2 Dashboard.
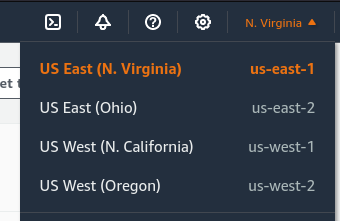
Ensure that you are operating in the region where you want to launch the IngeXt Community image.
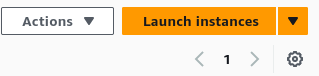
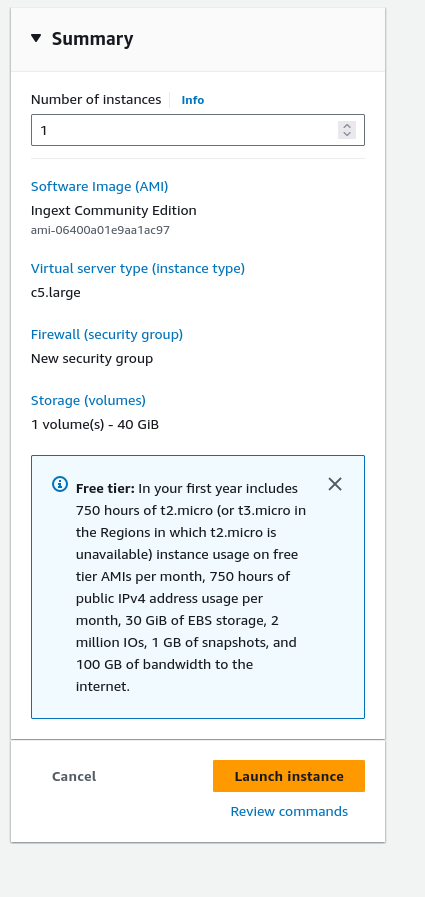
Click "Launch instance" to launch a new EC2 instance
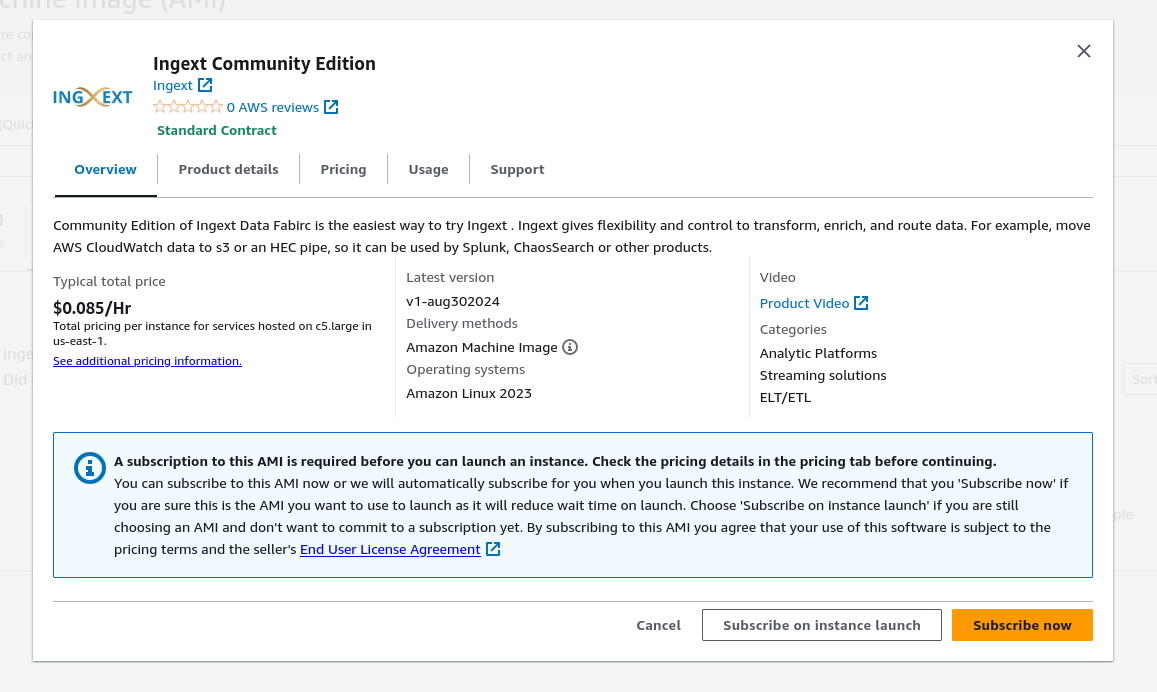
Give the new instance a Name, and search for "ingext community" to find the our official image on the Marketplace.
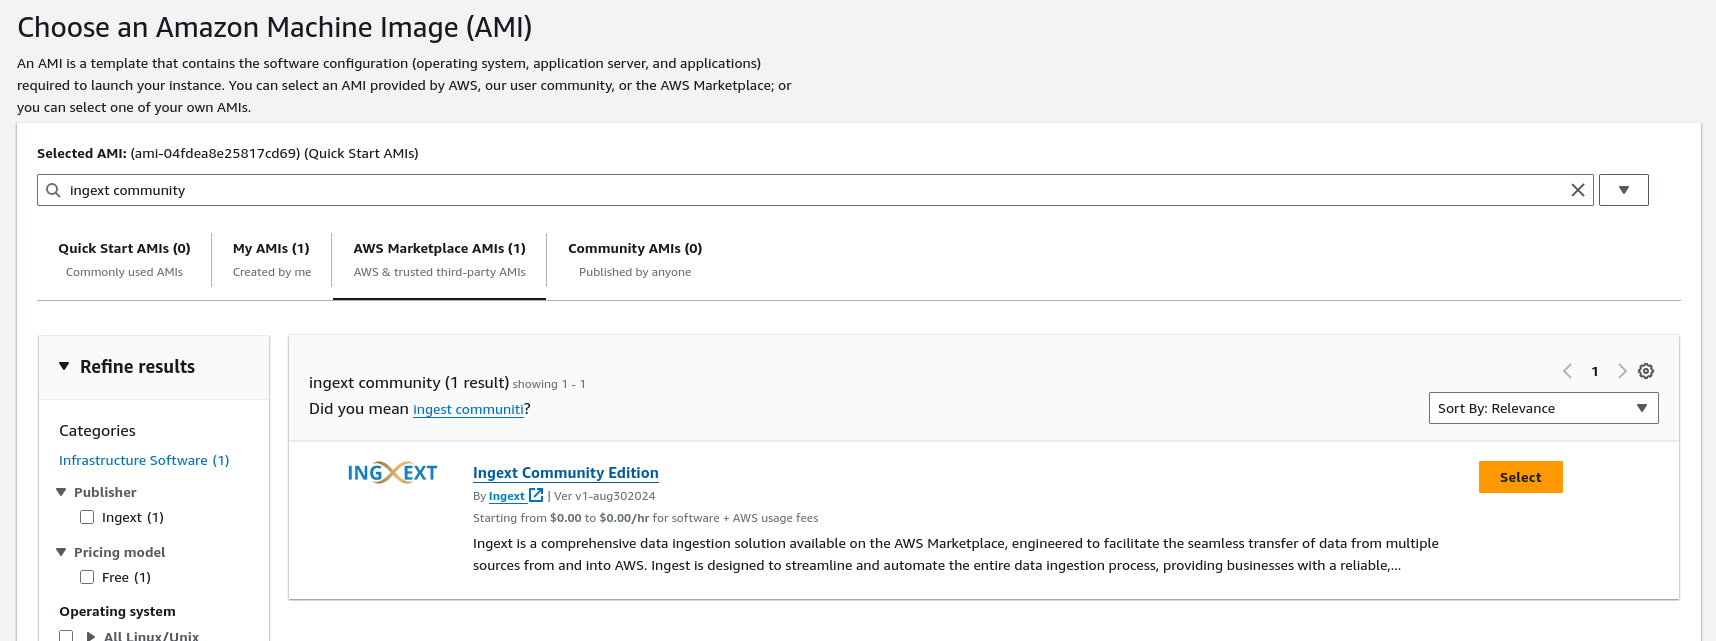
Select the AMI image, and choose "Subscribe".
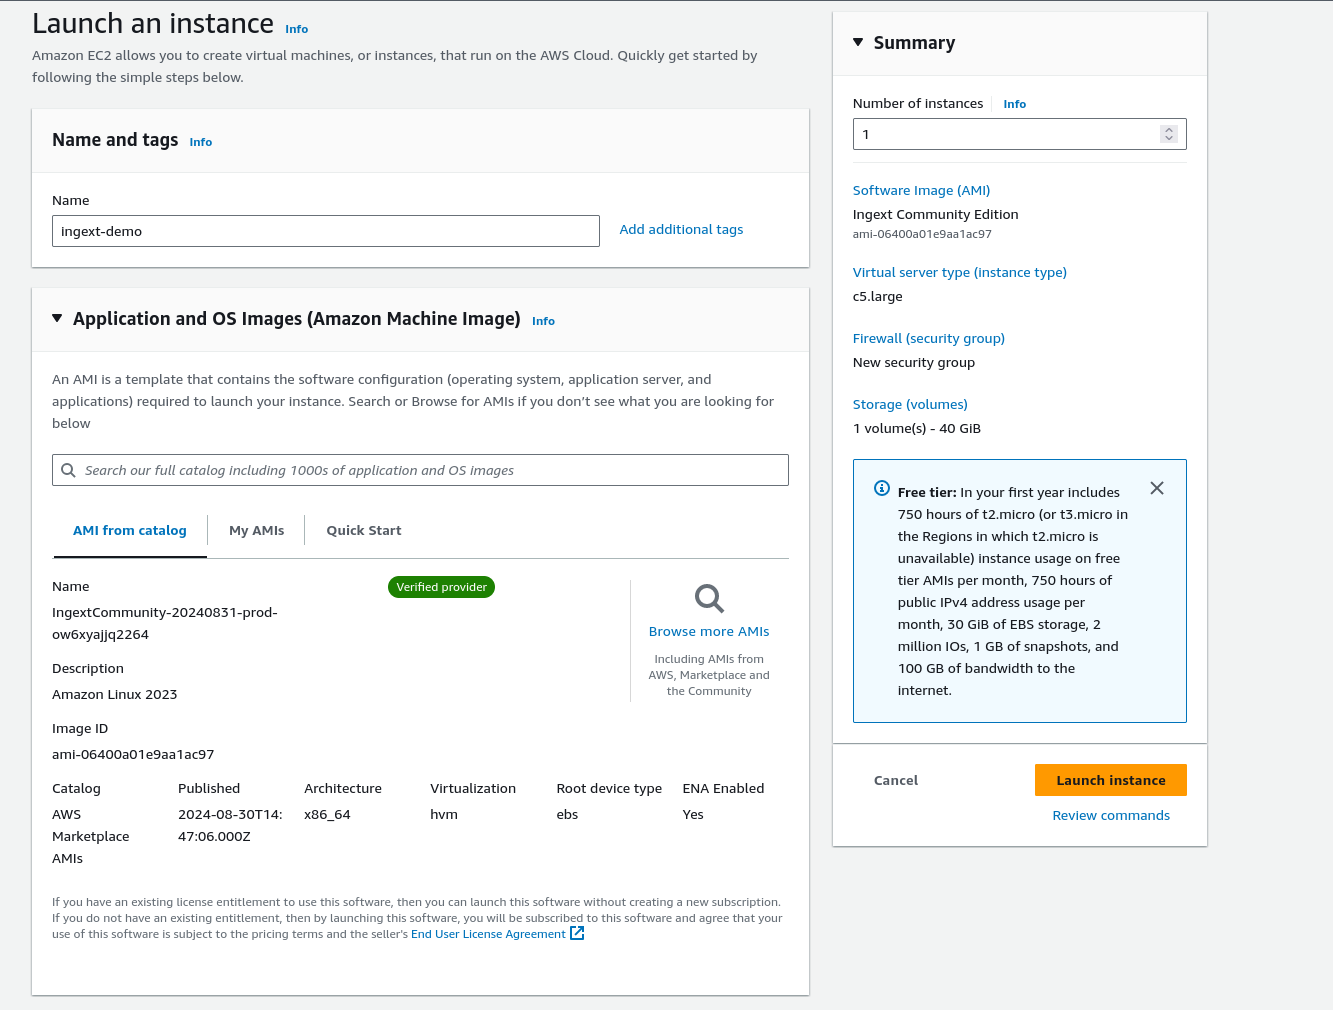
Configure the EC2 instance for launch options.
Select an appropriate Key pair or Create a new one for login.
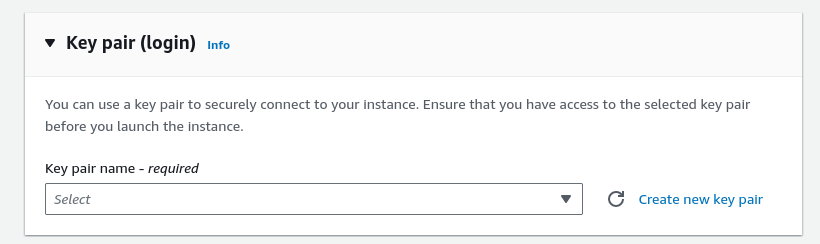
IngeXt Community Edition is based on Amazon Linux 2023, so the default user ec2-user will be configured for SSH access via the chosen Key pair.
Choose the appropriate Network settings.
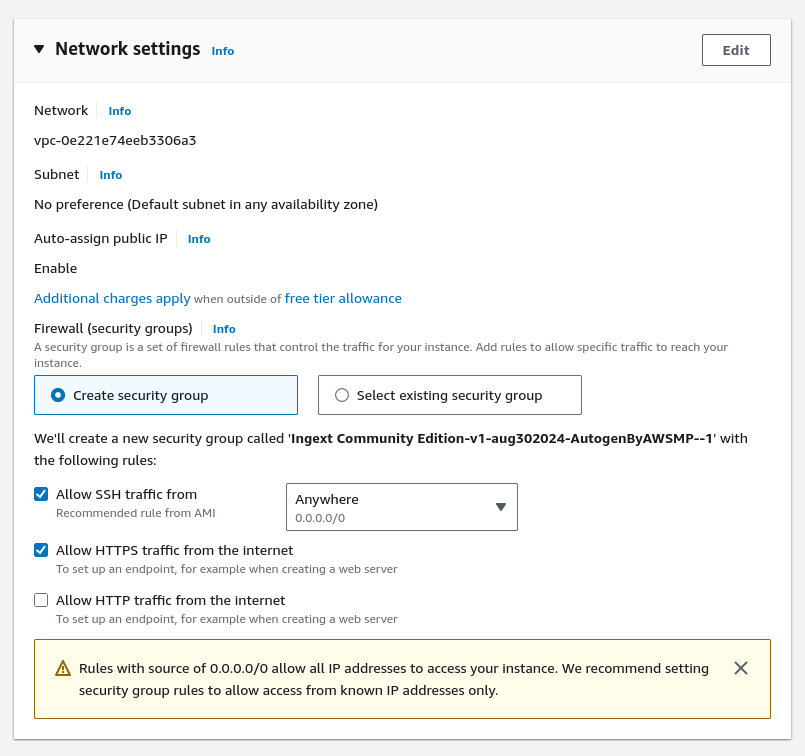
The EC2 instance need to be accessible via SSH (TCP 22) and HTTPS (TCP 443).
Select "Launch instance" once satisfied with the selections.
Wait for the new EC2 instance to be ready.

Accessing the new EC2 instance
The web UI can be accessed via the instance's public IP address (if the instance was launched in a public subnet).

The IngeXt Login page:
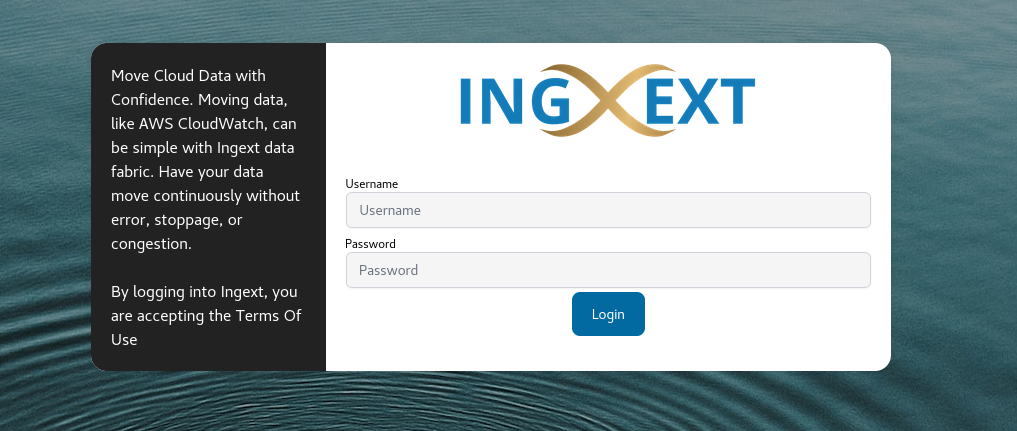
The default UI credentials are:
user: [email protected]
pass: ingext
At this point, the instance is up and running.
For back-end SSH access, use the chosen Key pair and access the instance via a standard SSH client.
Example:
ssh -i .ssh/demo-keypair.pem [email protected]
If this is your first time logging in to the web instance (UI), you will be redirected to the Configuration Wizard.
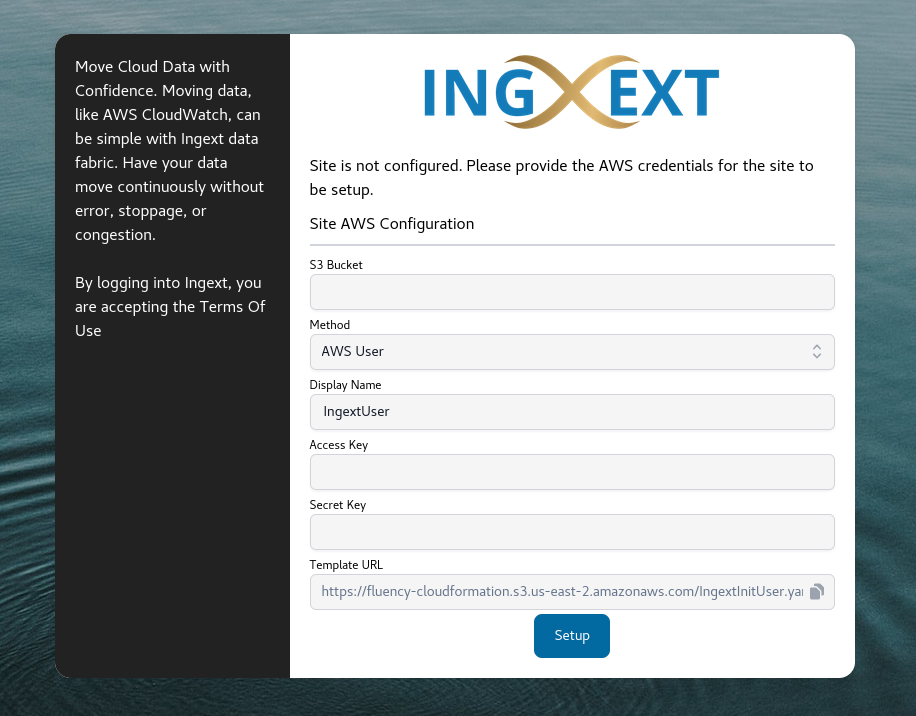
Please follow the instruction on the following page (Allowing Access via CloudFormation) to continue with further setup and configuration.
Updated over 1 year ago